The Notebook Action-Bar
On the top of a notebook are controls which you can use to edit or control your notebook.

You can see the notebook’s name on the top left.

You can hide or show the action-bar by clicking the chevron on the right.
Renaming the Notebook
If you’re an owner of the notebook (see Notebook Permissions.), you can rename the notebook by clicking its name.

The Editing Controls
Next to the name of the notebook are the controls related to working with the notebook.

-
Run Notebook
The play icon runs all paragraphs in the notebook.
-
Show / Hide Input
The expand icon hides or shows all editors in all paragraphs.
-
Show / Hide Output
The book icon hides or shows the output sections in all paragraphs.
-
Clear Output
The eraser icon clears all outputs from all the paragraphs. This button is disabled when the notebook is running.
-
Clone Notebook
The copy icon allows you to create a new clone of the notebook. You can give the new notebook a name and assign it to a folder (see Create a New Notebook).
-
Export This Notebook
Download the notebook as a .zpln or a .ipynb file.
Find & Replace
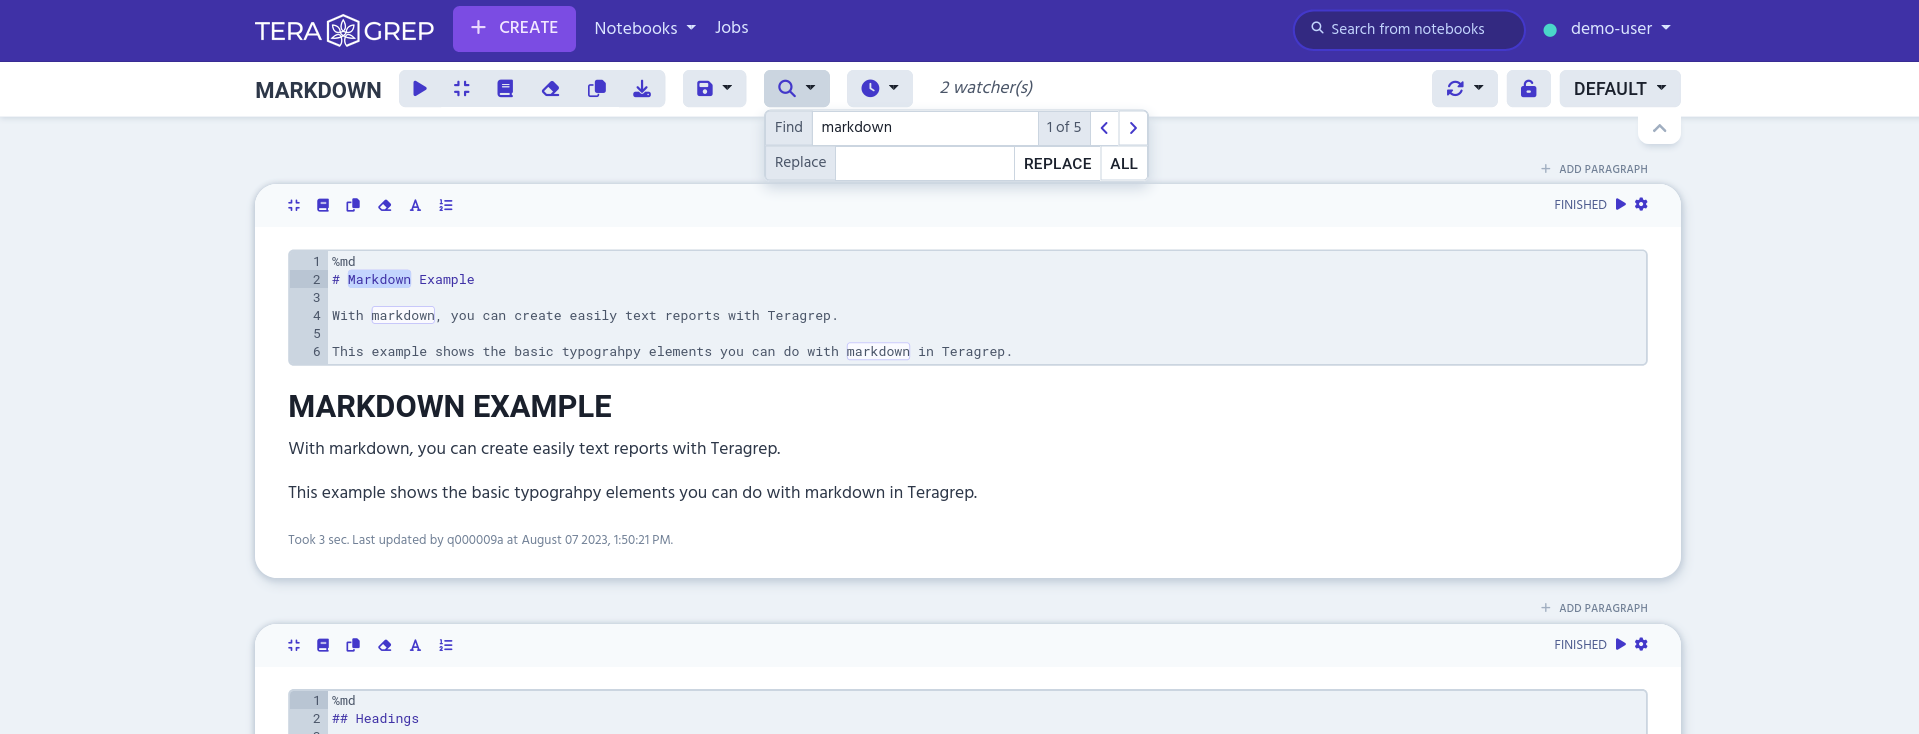
The magnifying glass icon opens the Find & Replace drop-down menu.

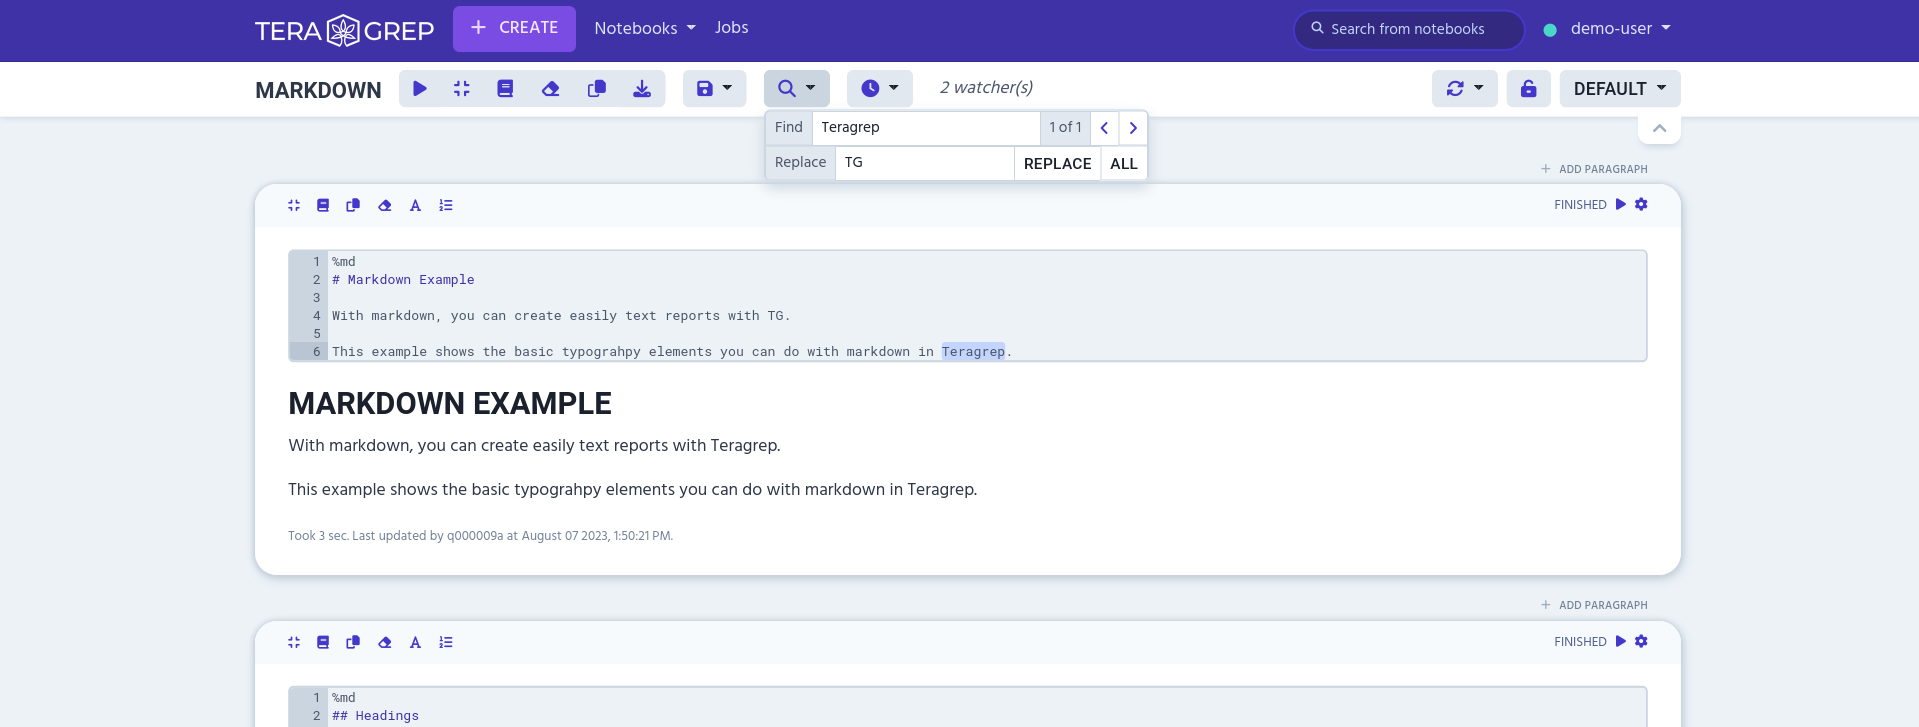
You can use Find & Replace to find a string of text or code from any part of your notebook, and it will show up highlighted. If there are multiple occasions of the same string, you can cycle through them using the arrows.

You can replace the found string with a new one by writing a replacement in the Replace field. The Replace button replaces only the currently highlighted string, while the All button replaces all the instances of it in the notebook.

Move to Trash
The trashcan icon moves the notebook into Trash folder (see section List of Notebooks).

Only owners of the notebook can remove a notebook (see Notebook Permissions).
